Here at Sports Floors, Inc., we know how hard facility managers and athletic directors work managing sports programs, coordinating events, and maintaining budgets. When it comes to a major sports-related development like having a new gym floor built, you may feel like a fish out of water! Replacing a floor may only happen once during a facility manager or athletic director’s career, so it’s possible they have little experience managing all the aspects of such a renovation project. That’s why we’re taking a look at all the steps to building a new gym floor and why you should trust your local experts with the project.
Our expert team has handled many sports floor installations and gym floor renovations from start to finish, and we know exactly what it takes to get the job done right! Keep reading below to learn more about the steps involved in building a new gym floor, and what you can expect from us throughout the process.
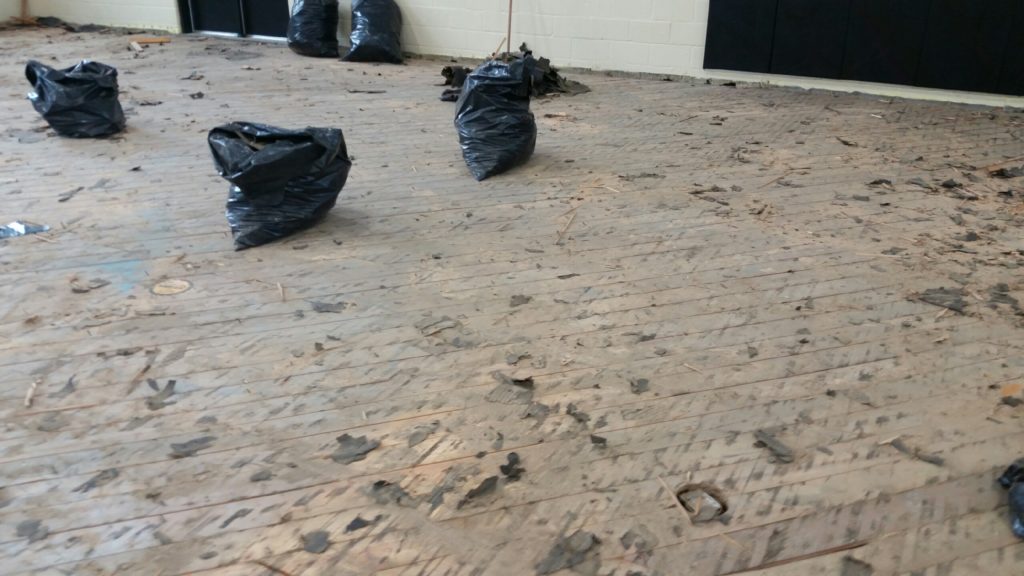
Step 1: Subfloor
Once we have all the appropriate paperwork filled out and squared away, we’ll schedule an installation date and send you a pre-start checklist. This checklist will let you know what we need from you before installing the floor, such as the specific room temperature, humidity levels, concrete requirements, etc. After these requirements have been signed off on, we will deliver the subfloor and the maple. Shortly thereafter, our crew will begin installing the subfloor. Depending on the size of your gym, this process will take around 3-5 days on average.
Step 2: Racking Out
Once we’ve installed the subfloor, our crew will “rack out,” which consists of laying the maple out in a puzzle-like pattern across the subfloor. This allows the maple to evenly absorb any moisture in the air and acclimate accordingly. Acclimating simply means that the maple will adapt to its environment by absorbing a certain amount of moisture. Every area of the country will have a certain acclimation level that the maple needs to meet before we can begin nailing it in place. This ensures proper installation of the maple by leaving enough room for fluctuations in humidity. This is important here in the Southeast especially. As the humidity outside fluctuates, wood expands and contracts. If it’s a dry day, the maple will shrink up, but if it’s one of our typical humid days, the maple will expand. If the wood is nailed down before it can absorb the proper amount of moisture, then several months down the road, the maple will expand so much that your floor will begin to buckle.
Step 3: Monitoring the moisture levels
Once our team has your maple racked out, we’ll leave the site in order to give your floor time to acclimate to the environment. Depending on the time of year and the acclimation level requirements for your area, you can expect this to take around 5-10 days. Although we won’t be actively working on the floor during that time, we will be monitoring the moisture levels of the maple and will return as soon as the floor is ready for the next step!
Step 4: Nailing
As soon as we have confirmation that the maple is properly acclimated, our team will return to nail the maple. This is a big job! Using very heavy nail guns, we work for one board at a time, hitting the nail gun with a sledgehammer to insert the nail every 12″ on center. Throughout the nailing process, our crew will leave gaps in the floor called expansion rows. These give the floor room to expand as needed when the weather changes. Over time, these rows will close up, but you may notice them for a while.
Because it requires our crew to stay bent over, hitting and moving the nail guns the entire time, we will often take frequent breaks to rest our backs. We may even stretch out on the floor sometimes! This doesn’t slow us down, however, and depending on the size of your floor, this step will usually take 5-6 days.
Step 5: Sanding and sealing
Once we have the subfloor and maple installed to our satisfaction, we crank up our ride-on sander and get started on what is probably the messiest part of the whole process. We do this in three parts, sanding once with coarse sandpaper, once with medium, and once with a fine grain sandpaper. This ensures a smooth and even finish, and takes about 4-5 days. When this step is complete, we tack the floor until it’s completely clean and prepare it for sealing. We will apply two coats of a seal to the floor, giving it 24 hours of dry time between each coat. After the last coat of seal dries, it’s time for the fun part – painting!
Step 6: Painting
Once the sealing process is complete, our artist will arrive and begin creating a floor that is distinctly YOU. Depending on the amount of paint needed, and how detailed the design is – such as multiple colored logos – you can expect the painting process to take anywhere from 2-5 days. It will need to dry for 48 hours once the painting has been completed.
Step 7: Finish
The final step to your new gym floor is applying two coats of finish to it. First, we will screen the floor, then tack it clean, followed by the application of one coat of finish. We repeat the whole process! Once the last coat of finish has been applied, the gym must remain empty until the floor is completely dry. This happens in two phases. After 72 hours, you may allow foot traffic, however, it’s crucial to wait 7-10 days before letting any rolling loads go across it. This includes bleachers, chairs, podiums, etc. Sports Floors, Inc. always uses MFMA-approved finishes that are made specifically for gym floors, protecting both your floor and your players.
The finish is what makes gym floors shiny and a little sticky, and is behind that familiar squeaky-shoe noise so common in gym settings! If you ever notice your gym floor getting a little slippery, it’s usually a sign that it’s time to apply another coat of finish to it. You should plan to do this about once a year.
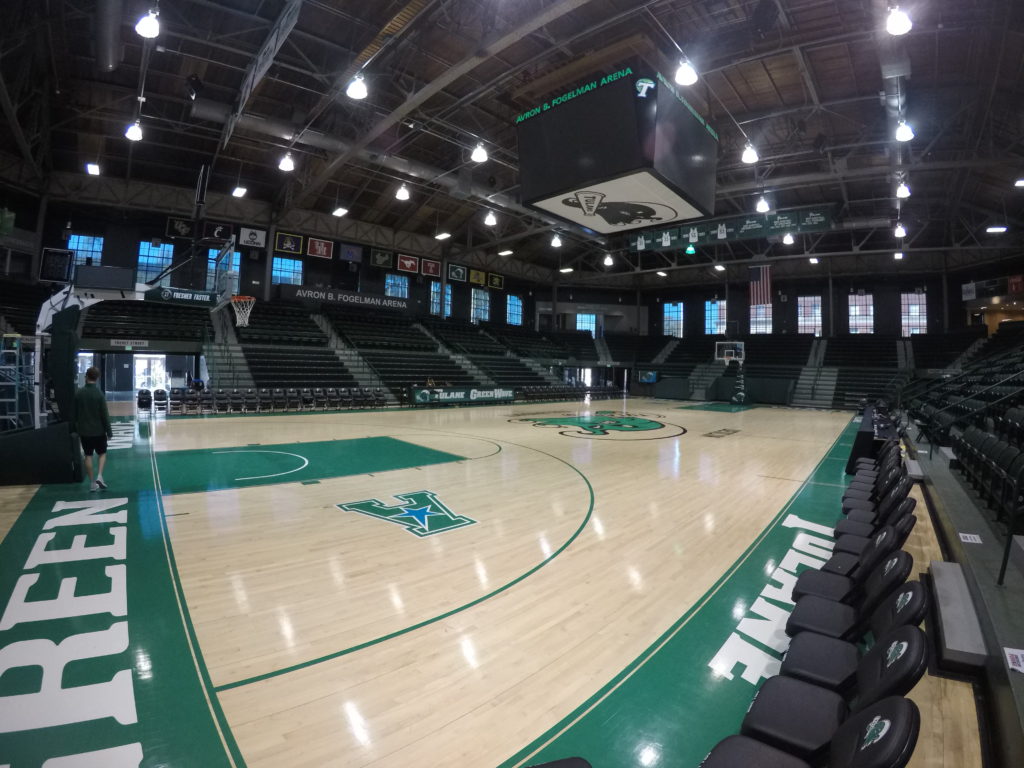
Getting the best gym floor for your buck with Sports Floors, Inc.
Installing a new gym floor is a BIG job, and doing it right involves many steps. When we build a custom floor for you, you should expect the entire process to take about 6-8 full weeks. This ensures the best look, functionality, and longevity for your floor! If you’d like to learn more about the beautiful work we offer to clients across the Mid-South, get in touch with our team today.